When your shop is called Gingerbread House it’s important to know how to make one!
I am in no way a master when it comes to gingerbread house building, I’ve had plenty of disasters in the past, but I’ve learned a few tricks over time. Some key things to remember gingerbread house construction is a marathon not a sprint, take your time enjoy the sweet process. There is no over decorating when it comes to gingerbread houses – use all the sweets and sprinkles you wish.
Recipe:
Gingerbread Dough:
500g Plain Flour
225g Salted Butter
200g Soft Brown Sugar
1 Egg
1/2 Teaspoon Cinnamon
1/2 Teaspoon Mixed Spice
1/2 Teaspoon Ground Ginger
(When making a gingerbead house you will need two batches of dough).
Method:
1. Beat the butter and sugar together until just combined
2. Add in the egg and mix
3. Fold in the flour and spices, mix together until just combined.
4. Wrap in clingfilm and chill in the fridge for at least 30 minutes.
5. Roll out the dough to a thickness of 5mm -use these spacers as a guide.
6. Cut out the dough using the gingerbread house cutters, lay on a cookie tray and place in the freeze or fridge to chill for at least half an hour. Cut out any windows or doors before chilling.
7. Preheat the oven to 170c.
8. Place your dough on a cookie tray and bake. I turn the tray half-way through bake time to get an even colour.
TOP TIP: Front, back and sides of the house takes 25 minutes in total. The roof takes 30 minutes. Bake times – please note these bake times are for the shapes created by this cutter.
9. Allow to cool on the tray for 15 minutes before moving to a wire rack to cool fully.
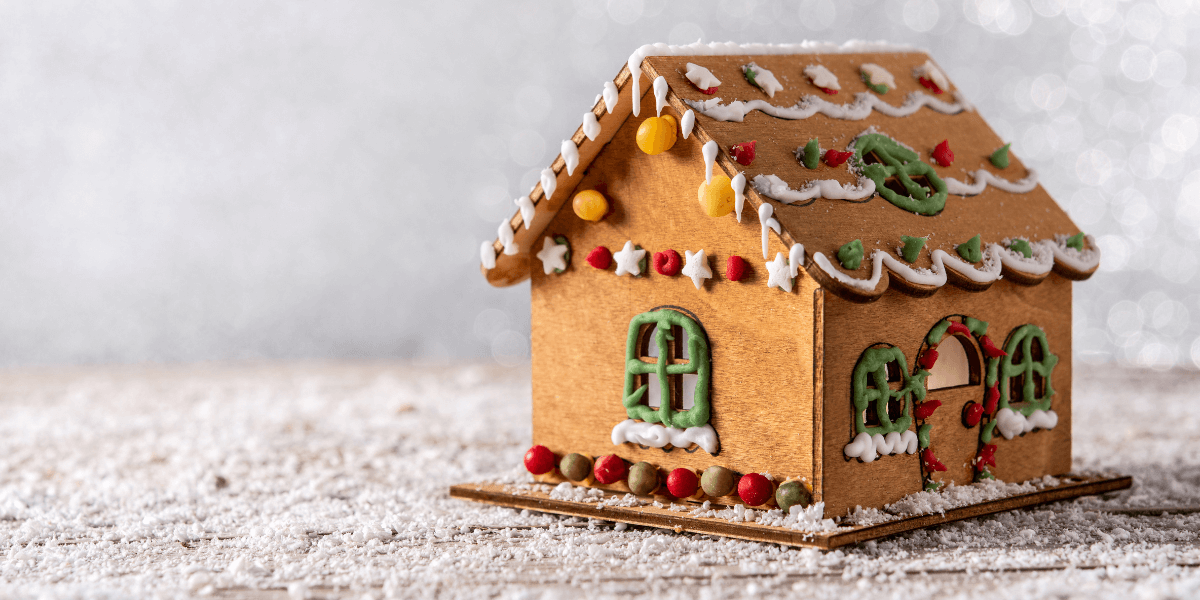
Once cooled it’s time to decorate!
READ NEXT: 4 Steps to Baking the Perfect Biscuit
Decoration:
When it comes to decorating there are two options
- Decorate all sides and roof of the house allow to set and then put together OR
- Put the house together and then decorate.
I’ve done both ways and honestly there really isn’t much of a difference when it comes to easy of decorating but if you plan on doing a lot of detailed piping its easier to do this on flat sides instead of when the house is built.
1. I use royal icing to decorate and to glue the house together. The royal icing should be toothpaste consistency easy to pipe out of the piping bag but holds its shape once piped.
2. Use your imagination when it comes to using sweets like chocolate pearls, jelly tots and sprinkles (mixes like santa’s favorites, merry berry are perfect), smarties, lollipops and marshmallows are ideal. Pipe dots, lines and swirls with royal icing.
Assemble:
This step CANNOT be rushed!
- Start with a good flat base for this size house I used a 10″ square cake drum.
- If any of the sides aren’t straight or have a little bump you can straighten the sides by using a grater!
- Pipe some royal icing on the back of the front piece and attach the side pieces. If the sides are falling place a glass or cup inside and allow the side to rest leaning against this. Once the icing sets you can remove the glass.
- Assemble the front, back and side and leave for at least 30 minutes ideally an hour before attaching the roof.
- Pipe some royal icing along the roof sides and attached to the house. If the roof starts to slip place something like a sprinkle bottle, glass under the roof to hold it while the icing sets.
Don’t forget to decorate the board! Add some snow around the board, add some snowmen or christmas trees.
A final dusting of icing sugar over the house will give a beautiful finish.
TOP TIPS:
Don’t rush, take your time – the dough can be made and chilling in the fridge the day before needed.
To create stain glass windows before baking place a hard boiled sweet into the window space during baking the sweet will melt and join with the biscuit, once cooled it will harden again.
Instant royal icing is ideal for decorating and gluing the house together.
Happy baking! For all your baking needs, check out our online shop.